

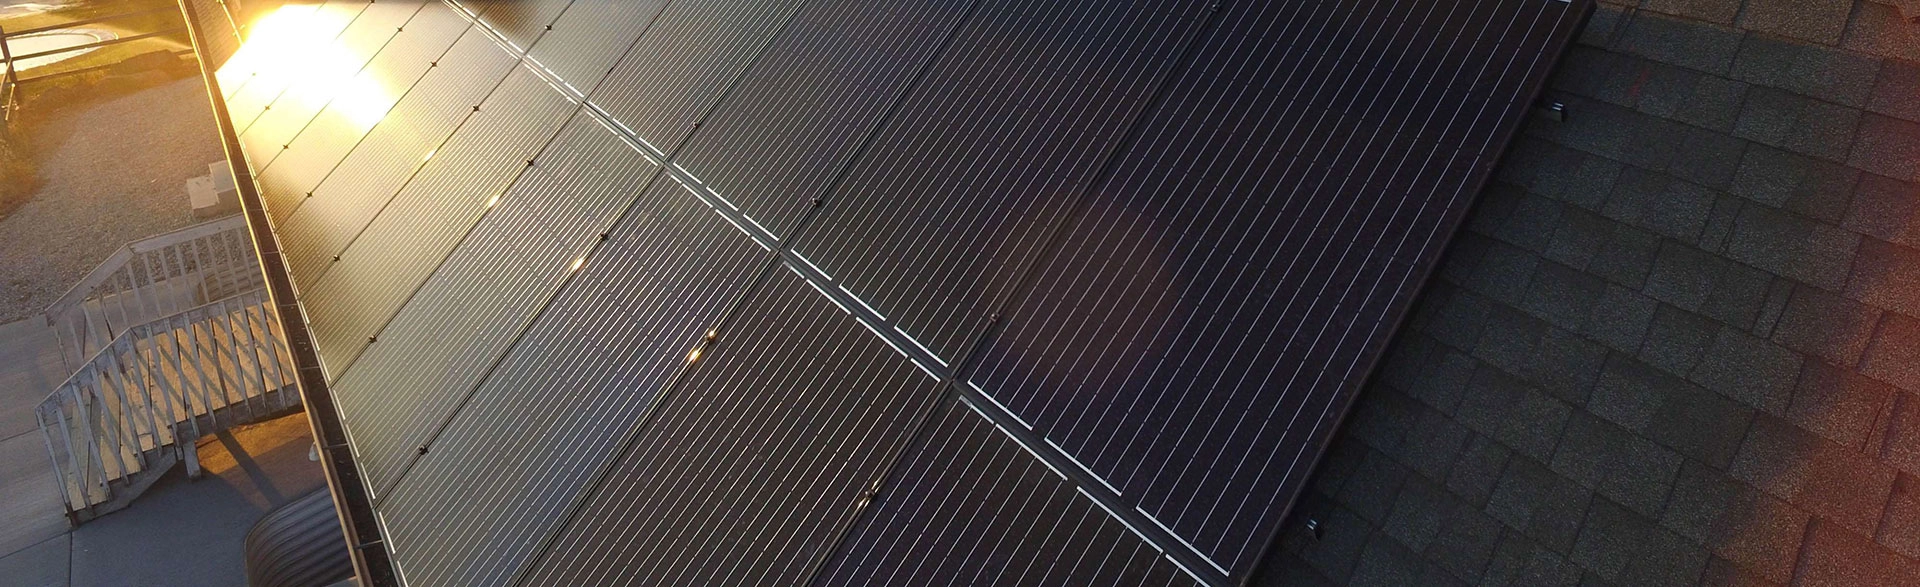
Solar racking is a lesser-known—yet critical—component of your solar system. Without it, your new renewable energy system will come sliding off your roof and will be decidedly less capable of offsetting your power needs. Yet racking is rarely given thought when considering installing a solar system. It can also be fine-tuned to enable your panels to capture the maximum amount of sunlight—adjusting the tilt and orientation of your panels—to make your system efficient.
As you’re making the decision to go solar, learn what solar racking is, what equipment is typically needed, and the process you can expect when your solar installer is mounting and getting your system up and running. Our skilled design team will design a solar system complete with the racking components needed to optimize performance, and then our expert solar installers will safely and correctly attach your solar panels to ensure you avoid any problems or disruptions.

What is a Solar Racking System?
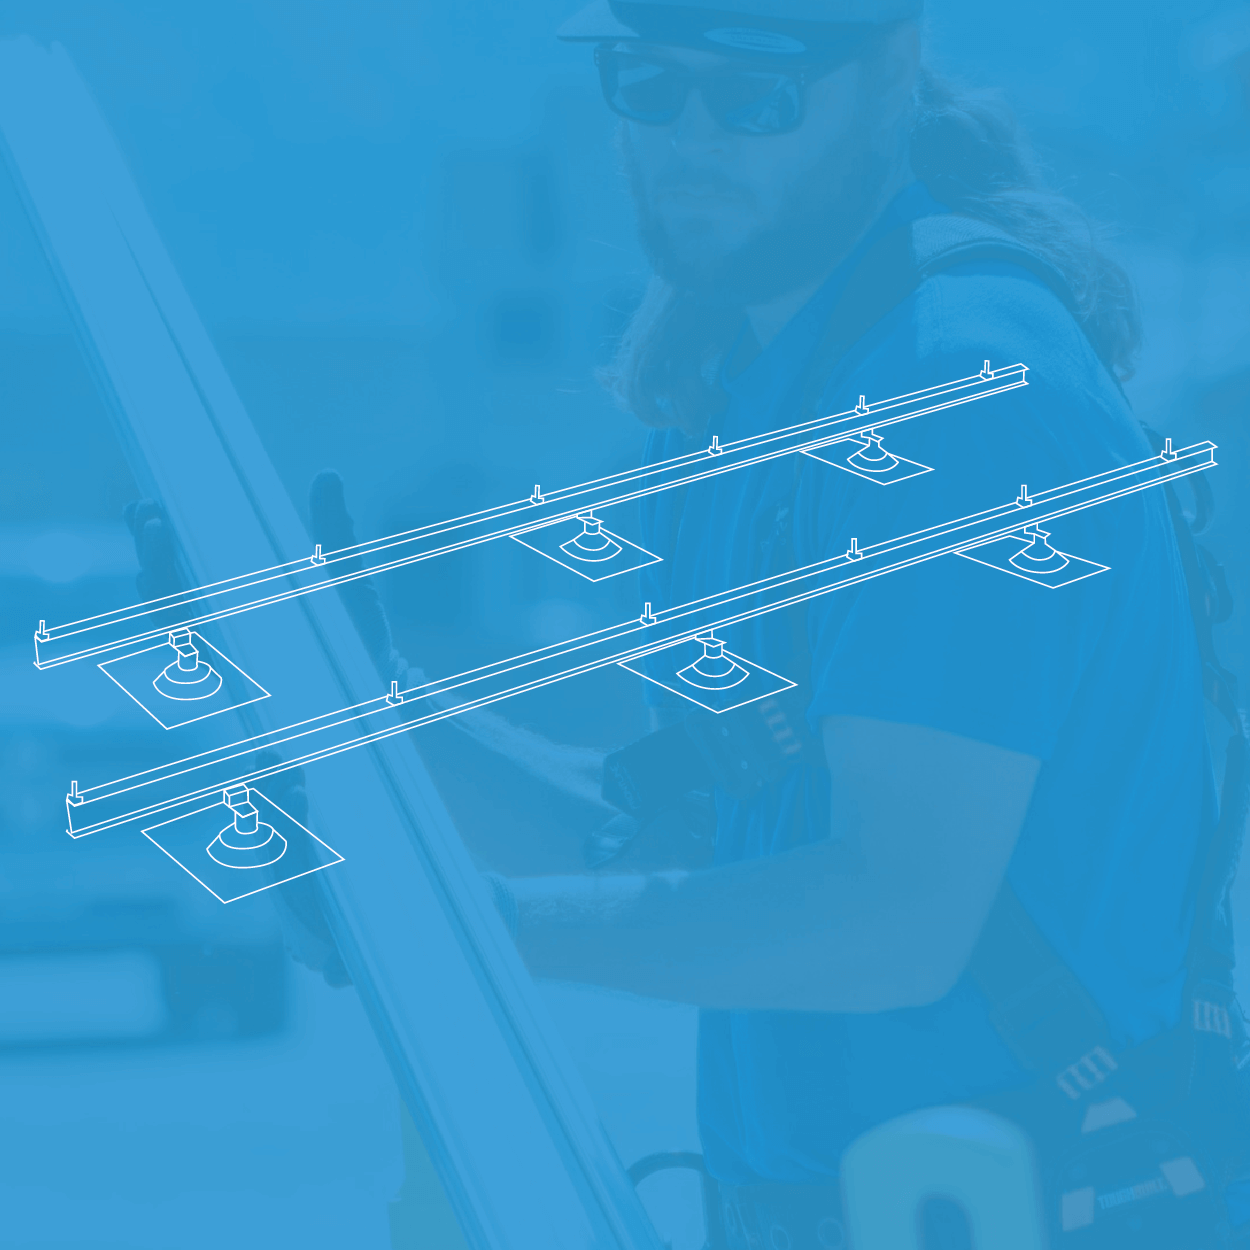
Solar racking is a mounting system which provides a framework to attach solar panels to your roof. Solar racking systems are typically made of aluminum because it’s lightweight, durable, and resistant to corrosion. This makes it a good choice when considering the weather extremes your solar system will be exposed to on the roof. Solar racks usually consist of five parts:
-
- Mounts or anchors, which are attached directly to your roof.
- Flashings, which cover any screws and screw holes used on the mounts to prevent leaks in the roof.
- Rails, which elevate and align the panels for maximum solar efficiency.
- Clamps, which secure the solar panels to the rails.
- Grounding, which keeps your solar panels protected against a power surge or a system malfunction.
You can find photos of each of these solar racking components and hardware on the Energy Sage website.
These components work together to mount your solar panels so they can achieve optimal tilt, which can be impacted by your home’s latitude as well as seasonal changes and time of day as discussed in our Daily Peak Sunlight Hours article. Having your panels oriented to account for these factors will allow for maximum solar energy production.

Solar Racking Process: From Mounting to Energization
According to the U.S. Office of Energy Efficiency and Renewable Energy, roof anchor systems for rooftop solar panel setup require solar installers to take the following steps:
Planning and designing the system
This initial work of assessing the home and site conditions, roof type, solar panel size and orientation, electrical wiring, and local codes and regulations is best completed by solar professionals. Some locations require you to obtain residential solar permits and approvals before starting the installation process, which at Blue Raven Solar is always handled by our in-house teams.
Preparing the site and materials
This includes clearing any obstacles or debris, marking the layout of the system on the roof, measuring and cutting the rails and other components, and gathering the proper tools and equipment needed for the system installation.
Installing roof attachments or mounts
This step requires drilling holes into the roof structure and securing the attachments with bolts or screws. The solar installers may also add flashings and/or sealants to prevent water penetration. If you have a flat roof, installing a ballasted system—which includes weights to counterbalance the weight of the solar panels and keep them secure—may be skipped with the use of concrete blocks instead of roof attachments.
Installing the mounting rails
At this step, solar installers will attach racking rails to the roof attachments or the concrete blocks with clamps or brackets. They may also install splices or end caps to connect or seal the rails. Ensuring the rails are level and fully aligned with each other is important to keep your panels secure and properly supported, and this is something our experienced installers also pay careful attention to.
Attaching the solar panels
This is when the solar panels are placed on top of the mounting rails and secured with clamps or brackets. This allows for enough space between the panels and the roof for proper ventilation and wiring. Solar panels must also be grounded and connected to each other with cables or connectors.
Configuring the wiring and other components
In this final phase, solar installers run the electrical wires behind or under the panels and rails, and connect them to junction boxes, inverters, batteries, meters, and/or grid interconnection devices. Local electrical codes and safety standards for wiring and grounding must be carefully followed and installers will test the custom solar panel system for proper operation and performance before full operation.
Local utility and community building codes often require an inspection before the system can be turned on or energized. We will handle the complete installation process, from pulling permits to scheduling the inspection, to make it hassle-free and simple for you.

Considerations of Various Solar Racking Options
As with any other product, there are a variety of solar racking options available, and deciding which one is the right option for you comes down to several considerations.
Achieving the Right Aesthetics
Most solar racking systems are barely distinguishable from each other from the street because the majority of the mounting is hidden by the panels themselves. However, homeowner associations (HOAs) do occasionally have requirements about the visibility of permitted solar equipment. (If this is a problem you’re running into, be sure to check the rules and regulations for your specific area as certain parts of the country have passed legislation that prevents HOAs from barring renewable energy systems regardless of what they look like.)
If you have concerns about the appearance of a solar racking system to comply with local guidelines, talk to your installer. Often adjustments can be made, such as using special mounting materials to level panels on an uneven roof, installing wiring conduits away from the street, or painting select system components when required.
Preventing Leaks
Solar racking systems are intentionally designed to include a gap between the solar panels and the roof. This makes it easy for water and debris to travel down and off the roof, and it helps to prevent mold, rot, and electrical fires. However, securing the mounting system to the roof does require screws and fasteners, creating small holes in the roof which must be handled properly.
Experienced solar installers are well-versed in local building standards and best practices for waterproofing and flashing across a variety of roofing materials. For example, flashing and sealant choices will be very different for a metal roof versus one with asphalt shingles. It’s important your installation team has experience installing on your roof type.
Installing with Ease
Another factor to consider is the time a racking system takes to install. Most installation companies will not use third-party materials they are unfamiliar with. This is because their solar installation experts have carefully vetted the mounting systems used, which means they are more familiar with this specific equipment—and time is money! When solar installers are working with materials they are unfamiliar with, the process will take longer and result in higher labor costs. Trusting your solar company to provide you with the right solar racking system for your panels will save you money.
Optimizing for Your Roof Shape & Attributes
Your solar panel mounting options will also vary depending on whether you have a flat roof, one with a moderate pitch and wide expanses, or one with lots of hips and valleys. Your solar panels may also need to be placed around chimneys, air conditioning units, vents, and other rooftop obstructions. All of these influence which type of solar racking system will be best for your roof and will be considered by the expert designers who optimize your solar system.

The Blue Raven Solar Promise and Support
Installing solar panels is a complex and delicate process that requires skill, knowledge, and expertise. Blue Raven Solar provides post-installation support through inspection and service technicians, who handle every aspect of your solar energy system with care and precision—from mounting your solar racking to full system operation.
Our technicians work efficiently, completing most installations in just 1-2 days. Contact us today to get started on your solar journey.
Sorry, the comment form is closed at this time.